How To Do Myofascial Release: Tools And Steps At Home
9 min read
Tight shoulders, a sore jaw, stiff hips, if you’ve ever woken up after an intense psychedelic experience wondering why your body feels like it ran a marathon, you’re not alone. Muscle tension is one of the most common physical after-effects of psychedelic use, and it often lingers well into the days that follow. At Afterglow Supplements, we focus on the full recovery picture, and that goes beyond what you put in your body. Sometimes, the best thing you can do is work on your body.
That’s where myofascial release comes in. It’s a hands-on technique that targets the connective tissue (fascia) surrounding your muscles to relieve pain, reduce tightness, and restore range of motion. The good news: you don’t need a therapist’s office to do it. With a foam roller, a tennis ball, or even just your hands, you can practice effective self-myofascial release at home.
This guide breaks down exactly how to do myofascial release step by step, which tools to use, how to target specific body parts, and how to build a simple routine that supports your physical recovery after demanding experiences.
What myofascial release is and who should avoid it
Your muscles are wrapped in a web of connective tissue called fascia. Under normal conditions, this tissue stays pliable and hydrated, letting your muscles slide and contract freely. But when you’re under physical stress, dehydrated, or dealing with prolonged tension (like jaw clenching or bracing during an intense experience), fascia can tighten, dry out, and form adhesions. Those adhesions are what you feel as knots and stiffness.
Myofascial release is a technique that applies sustained, gentle pressure to restricted areas to loosen the fascia and restore normal muscle function. Unlike a deep-tissue massage that targets the muscle fiber itself, myofascial release focuses on the surrounding connective tissue. That distinction matters because you can do it effectively yourself at home without needing a trained therapist.
How fascia affects muscle recovery
Fascia isn’t just passive wrapping. It connects entire muscle chains running from your feet to the top of your skull, which means tension in one spot can pull on and restrict movement in a completely different area. If your hips feel stiff, the real source might be tight tissue running up from your hamstrings or calves.
When fascia tightens, it can restrict blood flow and nerve signaling to the muscles it surrounds, which slows recovery and amplifies soreness.
After physical or neurological stress, the lymphatic and circulatory systems that normally flush out waste products work less efficiently through congested fascia. Learning how to do myofascial release gives you a direct way to break that cycle by physically mobilizing the tissue and improving local circulation.
Who should skip or modify it
Myofascial release is safe for most healthy adults, but certain conditions require caution or a conversation with a healthcare provider before you start. Avoid or modify myofascial release if any of the following apply to you:
You have deep vein thrombosis (DVT) or a known blood clot
You are dealing with open wounds, skin infections, or bruising in the target area
You have a bone fracture or osteoporosis affecting the area you plan to work on
You are pregnant (especially avoid abdominal pressure and certain positional holds)
You have peripheral neuropathy and cannot accurately gauge pressure sensation
If you have chronic inflammation, fibromyalgia, or a connective tissue disorder, start with very light pressure only and pay close attention to how your body responds before increasing intensity.
Step 1. Pick the right tools and set up safely
Before you learn how to do myofascial release on yourself, you need the right equipment. Effective tools are inexpensive and widely available, and what you pick depends on the body areas you want to target and how much pressure you can currently tolerate.
Choosing your tools
A standard foam roller (medium density, around 6 inches in diameter) handles large muscle groups like your quads, hamstrings, calves, and upper back. If you’re new to this, start with a smooth roller rather than a ridged one, since ridged rollers concentrate pressure and can feel overwhelming at first. For smaller, harder-to-reach spots like your glutes, shoulder blades, or the base of your skull, use a tennis ball or lacrosse ball. A lacrosse ball gives firmer pressure; a tennis ball is gentler.
You don’t need to spend a lot to get results. A basic foam roller and a tennis ball cover most situations.
Tool
Best for
Pressure level
Foam roller
Quads, back, hamstrings
Low to medium
Tennis ball
Glutes, feet, shoulders
Medium
Lacrosse ball
Deep tissue spots
Medium to high
Setting up your space
Clear a flat area on the floor with enough room to fully extend your body. Place a yoga mat or carpet underneath you to protect your joints from hard surfaces.
Drink a glass of water beforehand, as hydrated fascia responds better to pressure
Wear loose, comfortable clothing that won’t bunch under the roller
Set aside at least 15 uninterrupted minutes so you’re not rushing through each position
Keep the room at a comfortable temperature since cold muscles tighten faster
Step 2. Use a foam roller for big muscle groups
The foam roller is your primary tool when learning how to do myofascial release on large muscle groups like your quads, hamstrings, upper back, and calves. Slow, controlled rolling is what separates effective technique from simply sliding around on the floor. The goal is to find tight spots, pause, and let the pressure do the work over several seconds, not to roll back and forth as fast as you can.
How to roll correctly
Position your target muscle on top of the roller and use your arms or remaining leg to control how much body weight you load onto it. Roll slowly along the muscle at roughly one inch per second, pausing for 20 to 30 seconds when you land on a tender spot. Breathe steadily through the discomfort. If the pain registers above a 7 out of 10, reduce the load by shifting some weight into your hands or your opposite foot.
Staying on a tender spot for 20 to 30 seconds gives the fascia enough time to respond and release, which is the whole point of the technique.
Key areas and how to position yourself
Start with the muscle groups that carry the most tension after demanding physical or neurological stress.
Muscle group
Starting position
Direction of roll
Quads
Face down, roller under thighs
Hip to knee
Hamstrings
Seated, roller under thighs
Hip to knee
Upper back
On your back, roller across shoulder blades
Up and down the spine
Calves
Seated, roller under lower legs
Knee to ankle
Keep your core slightly engaged during each position so your lower back stays supported and you can focus the pressure exactly where it needs to go.
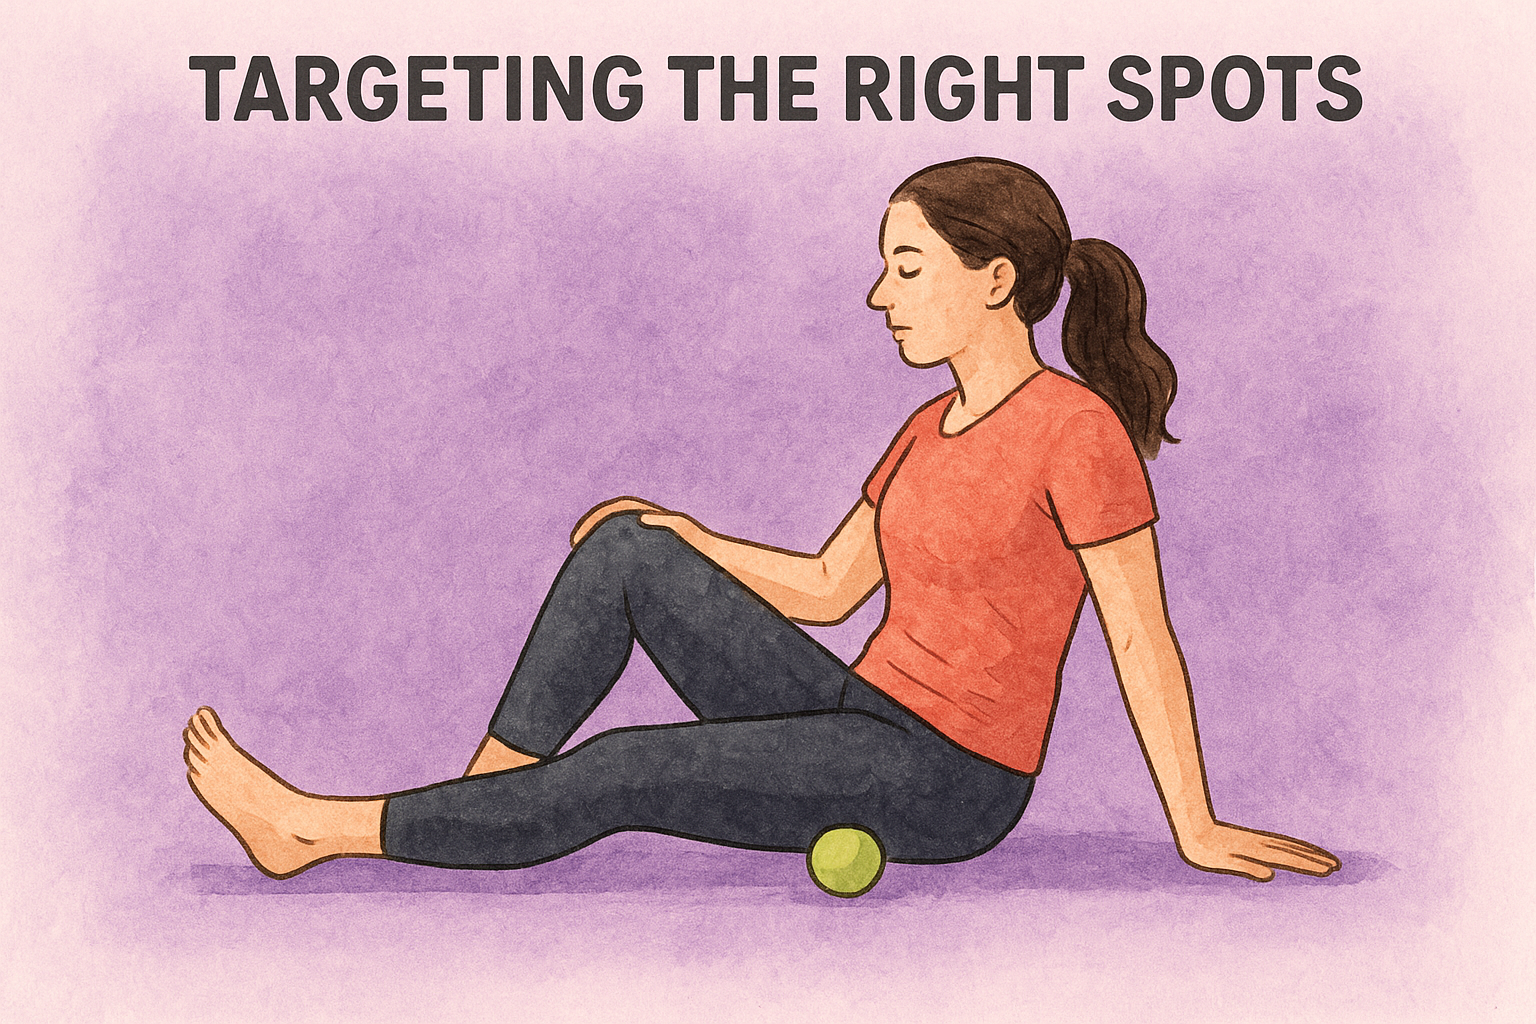
Step 3. Use a ball for smaller, stubborn tight spots
A foam roller can’t reach every area that holds tension. For tight spots in your glutes, the base of your skull, the arch of your foot, or around your shoulder blades, a tennis ball or lacrosse ball gives you the precision that a wide roller simply cannot. This is where learning how to do myofascial release really pays off, because these smaller areas are often the ones driving pain and stiffness elsewhere in your body.
Targeting the right spots
Place the ball on a firm surface (or between your body and a wall) and position the target area directly on top of it. The table below shows the most effective positions for common problem areas.
Area
Position
Surface
Glutes
Seated, ball under one cheek
Floor
Foot arch
Standing, ball under foot
Floor
Upper traps / shoulder
Ball between back and wall
Wall
Base of skull
On your back, ball at base of head
Floor
How to apply pressure correctly
Once you find a tender spot, stop moving and hold that position for 20 to 30 seconds. You’re not trying to roll back and forth rapidly. Let your body weight do the work, and breathe steadily so your nervous system can actually relax into the pressure.
Reduce the load immediately if the discomfort spikes above a 7 out of 10, because forcing through sharp pain creates more tension, not less.
Slowly rotate or shift the target area a few degrees while holding pressure to work the tissue from slightly different angles before moving on to the next spot.
Step 4. Build a simple routine that actually helps
Knowing how to do myofascial release is only half the job. Consistency is what produces lasting relief, and that means building sessions into your week rather than treating them as a one-time fix. Even 10 to 15 minutes, three times per week is enough to notice a real difference in tissue quality and flexibility within a few weeks.
How often to roll and for how long
Your frequency should match your current tension levels. If you’re in an acute recovery phase, short daily sessions (around 10 minutes) work better than one long session per week. Once things settle down, three sessions per week maintains the progress you’ve built without overdoing it.
Less pressure held longer beats aggressive rolling for shorter periods every time.
Avoid working the same spot for more than 60 to 90 seconds per session, since prolonged pressure can irritate tissue rather than release it. When a particular area stays stubbornly tight after a few sessions, add one extra targeted ball session mid-week instead of repeating the foam roller.
A starter weekly template
Use this structure as your baseline and adjust it based on how your body responds over the first two weeks:
Day
Focus area
Time
Monday
Quads, hamstrings, calves (foam roller)
10 min
Wednesday
Glutes, upper traps, foot arch (ball)
10 min
Friday
Full-body light roll + base of skull
15 min
After each session, drink a glass of water to support the tissue flushing process you’ve just started. Stretch the muscles you worked for 30 to 60 seconds to lock in the improved range of motion while the fascia is still pliable.
Your next session
You now have everything you need to put how to do myofascial release into practice on your own. Start with the foam roller on your quads and upper back, move to the ball for your glutes and shoulder blades, and keep your sessions short, consistent, and pressure-controlled. That’s the entire system.
Physical recovery doesn’t happen in one go. Your fascia responds to repeated, gentle input over days and weeks, not a single aggressive session. The weekly template in Step 4 gives you a clear starting point, so follow it for two weeks before you decide what needs adjusting.
If you’re recovering from a psychedelic experience, bodywork is only one piece of the picture. Replenishing the nutrients your body actually burned through matters just as much. Take a look at the Afterglow Recovery Protocol to see how a structured supplement approach supports the physical side of your recovery from the inside out.
Lukas Nelpela
writes on neuroscience, mental health, and mindful exploration. With a passion in research-driven wellness and years focused on set & setting, integration, and recovery, he turns complex ideas into clear, usable insight.
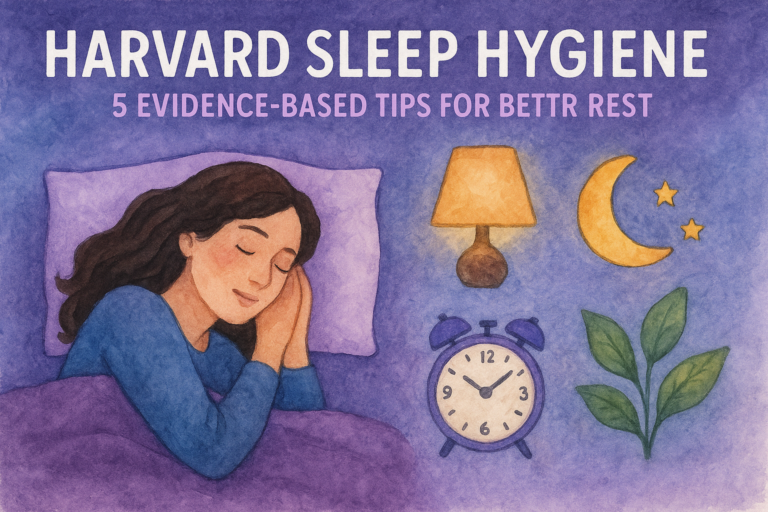
Sleep quality shapes how you think, feel, and recover, whether you’re bouncing back from a tough week or integrating a psychedelic experience. The Harvard sleep hygiene guidelines, developed by researchers at Harvard Medical School, remain some of the most cited and practical recommendations for improving rest. They’re not trendy hacks
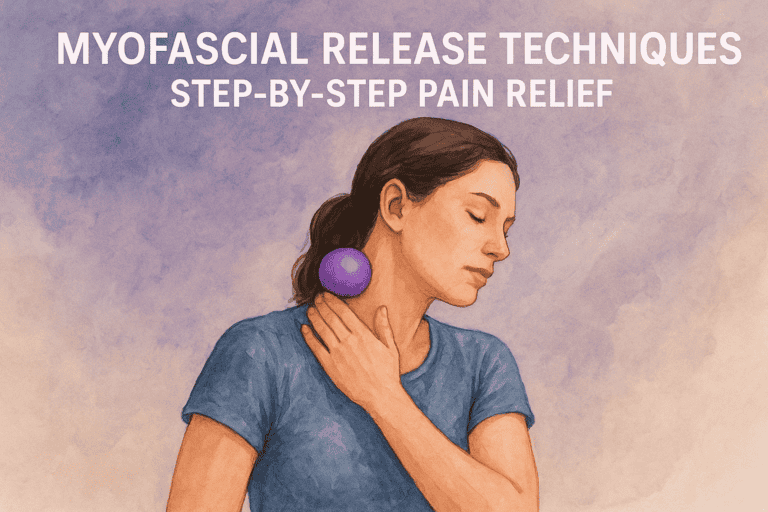
If you’ve ever woken up after a psychedelic experience with a locked jaw, tight shoulders, or a neck that barely turns, you already know the toll that sustained muscle tension can take on your body. That tightness doesn’t just sit on the surface, it often lives deeper, in the connective
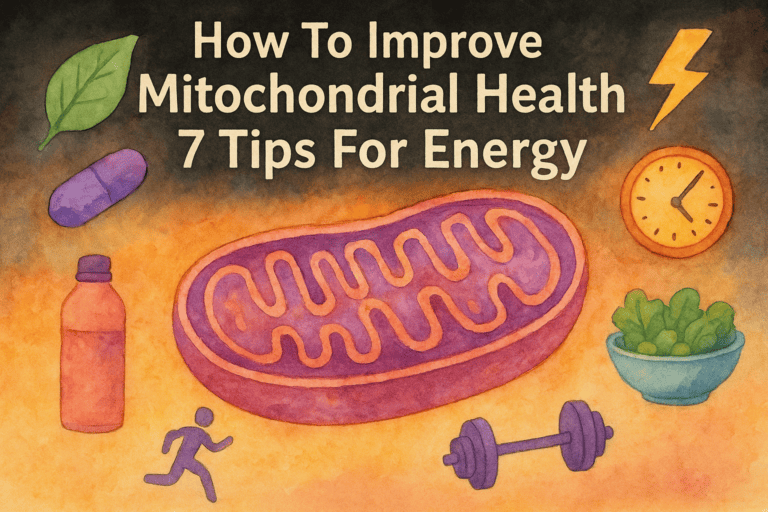
Your mitochondria produce roughly 90% of the energy your body runs on. Every thought, every heartbeat, every moment of focus or fatigue traces back to these tiny organelles inside your cells. When they’re thriving, you feel sharp, resilient, and recharged. When they’re not, you feel it, brain fog, sluggish recovery,
Stiff hips, locked-up shoulders, a jaw that still feels like a vice grip from last weekend, your body keeps a receipt for everything you put it through. Whether you’re recovering from a heavy festival, an intense psychedelic session, or just sitting at a desk for ten hours straight, mobility work
You already know the drill: you’re lying in bed after a long day (or a long night), scrolling your phone, and sleep feels miles away. Your brain won’t shut off, your eyes sting, and that melatonin you took 40 minutes ago hasn’t kicked in. One of the simplest fixes? Blue
We use various cookies on our website. Some are essential for the website to function properly, while others we may only use with your consent. You can find more information about cookies on our website here.
This website uses cookies to improve your experience while you navigate through the website. Out of these cookies, the cookies that are categorized as necessary are stored on your browser as they are essential for the working of basic functionalities of the website. We also use third-party cookies that help us analyze and understand how you use this website. These cookies will be stored on your browser only with your consent. You also have the option to opt-out of these cookies. However, opting out of some of these cookies may have an impact on your browsing experience.
Necessary cookies are absolutely essential for the website to function properly. These cookies anonymously ensure basic functionalities and security features of the website.
Cookie
Duration
Description
cookielawinfo-checkbox-advertisement
1 year
Set by the GDPR Cookie Consent plugin, this cookie records the user consent for the cookies in the "Advertisement" category.
cookielawinfo-checkbox-analytics
11 months
This cookie is set by GDPR Cookie Consent plugin. The cookie is used to store the user consent for the cookies in the category "Analytics".
cookielawinfo-checkbox-functional
11 months
The cookie is set by GDPR cookie consent to record the user consent for the cookies in the category "Functional".
cookielawinfo-checkbox-necessary
11 months
This cookie is set by GDPR Cookie Consent plugin. The cookies is used to store the user consent for the cookies in the category "Necessary".
cookielawinfo-checkbox-others
11 months
This cookie is set by GDPR Cookie Consent plugin. The cookie is used to store the user consent for the cookies in the category "Other.
cookielawinfo-checkbox-performance
11 months
This cookie is set by GDPR Cookie Consent plugin. The cookie is used to store the user consent for the cookies in the category "Performance".
CookieLawInfoConsent
1 year
CookieYes sets this cookie to record the default button state of the corresponding category and the status of CCPA. It works only in coordination with the primary cookie.
elementor
never
The website's WordPress theme uses this cookie. It allows the website owner to implement or change the website's content in real-time.
fb_event_id_atc
30 minutes
Used to match client and server events for Meta Conversion API deduplication. Contains only anonymous technical IDs; no personal data stored.
fb_event_id_ic
30 minutes
Used to match client and server events for Meta Conversion API deduplication. Contains only anonymous technical IDs; no personal data stored.
fb_event_id_pur
30 minutes
Used to match client and server events for Meta Conversion API deduplication. Contains only anonymous technical IDs; no personal data stored.
fb_event_id_vc
30 minutes
Used to match client and server events for Meta Conversion API deduplication. Contains only anonymous technical IDs; no personal data stored.
rc::a
never
This cookie is set by the Google recaptcha service to identify bots to protect the website against malicious spam attacks.
rc::c
session
This cookie is set by the Google recaptcha service to identify bots to protect the website against malicious spam attacks.
viewed_cookie_policy
11 months
The cookie is set by the GDPR Cookie Consent plugin and is used to store whether or not user has consented to the use of cookies. It does not store any personal data.
VISITOR_PRIVACY_METADATA
6 months
YouTube sets this cookie to store the user's cookie consent state for the current domain.
wpEmojiSettingsSupports
session
WordPress sets this cookie when a user interacts with emojis on a WordPress site. It helps determine if the user's browser can display emojis properly.
Functional cookies help to perform certain functions, such as sharing website content on social media platforms, collecting feedback, and other third-party functions.
Cookie
Duration
Description
sib_cuid
6 months
SendinBlue sets this cookie to store unique visits.
VISITOR_INFO1_LIVE
6 months
A cookie set by YouTube to measure bandwidth that determines whether the user gets the new or old player interface.
yt-remote-cast-available
session
The yt-remote-cast-available cookie is used to store the user's preferences regarding whether casting is available on their YouTube video player.
yt-remote-cast-installed
session
The yt-remote-cast-installed cookie is used to store the user's video player preferences using embedded YouTube video.
yt-remote-connected-devices
never
YouTube sets this cookie to store the user's video preferences using embedded YouTube videos.
yt-remote-device-id
never
YouTube sets this cookie to store the user's video preferences using embedded YouTube videos.
yt-remote-fast-check-period
session
The yt-remote-fast-check-period cookie is used by YouTube to store the user's video player preferences for embedded YouTube videos.
yt-remote-session-app
session
The yt-remote-session-app cookie is used by YouTube to store user preferences and information about the interface of the embedded YouTube video player.
yt-remote-session-name
session
The yt-remote-session-name cookie is used by YouTube to store the user's video player preferences using embedded YouTube video.
ytidb::LAST_RESULT_ENTRY_KEY
never
The cookie ytidb::LAST_RESULT_ENTRY_KEY is used by YouTube to store the last search result entry that was clicked by the user. This information is used to improve the user experience by providing more relevant search results in the future.
Performance cookies are used to understand and analyze key website performance indexes, which helps in providing a better user experience for visitors.
Cookie
Duration
Description
SRM_B
1 year 24 days
Used by Microsoft Advertising as a unique ID for visitors.
Analytical cookies are used to understand how visitors interact with the website. These cookies help provide information on metrics such as the number of visitors, bounce rate, traffic source, etc.
Cookie
Duration
Description
_clck
1 year
Microsoft Clarity sets this cookie to retain the browser's Clarity User ID and settings exclusive to that website. This guarantees that actions taken during subsequent visits to the same website will be linked to the same user ID.
_clsk
1 day
Microsoft Clarity sets this cookie to store and consolidate a user's pageviews into a single session recording.
_fbp
3 months
Facebook sets this cookie to display advertisements when either on Facebook or on a digital platform powered by Facebook advertising after visiting the website.
_ga
1 year 1 month 4 days
Google Analytics sets this cookie to calculate visitor, session and campaign data and track site usage for the site's analytics report. The cookie stores information anonymously and assigns a randomly generated number to recognise unique visitors.
_ga_*
1 year 1 month 4 days
Google Analytics sets this cookie to store and count page views.
_gcl_au
3 months
Google Tag Manager sets the cookie to experiment advertisement efficiency of websites using their services.
_hjSession_*
1 hour
Hotjar sets this cookie to ensure data from subsequent visits to the same site is attributed to the same user ID, which persists in the Hotjar User ID, which is unique to that site.
_hjSessionUser_*
1 year
Hotjar sets this cookie to ensure data from subsequent visits to the same site is attributed to the same user ID, which persists in the Hotjar User ID, which is unique to that site.
_hjTLDTest
session
To determine the most generic cookie path that has to be used instead of the page hostname, Hotjar sets the _hjTLDTest cookie to store different URL substring alternatives until it fails.
CLID
1 year
Microsoft Clarity set this cookie to store information about how visitors interact with the website. The cookie helps to provide an analysis report. The data collection includes the number of visitors, where they visit the website, and the pages visited.
MR
7 days
This cookie, set by Bing, is used to collect user information for analytics purposes.
sbjs_current
session
Sourcebuster sets this cookie to identify the source of a visit and stores user action information in cookies. This analytical and behavioural cookie is used to enhance the visitor experience on the website.
sbjs_current_add
session
Sourcebuster sets this cookie to identify the source of a visit and stores user action information in cookies. This analytical and behavioural cookie is used to enhance the visitor experience on the website.
sbjs_first
session
Sourcebuster sets this cookie to identify the source of a visit and stores user action information in cookies. This analytical and behavioural cookie is used to enhance the visitor experience on the website.
sbjs_first_add
session
Sourcebuster sets this cookie to identify the source of a visit and stores user action information in cookies. This analytical and behavioural cookie is used to enhance the visitor experience on the website.
sbjs_migrations
session
Sourcebuster sets this cookie to identify the source of a visit and stores user action information in cookies. This analytical and behavioural cookie is used to enhance the visitor experience on the website.
sbjs_session
1 hour
Sourcebuster sets this cookie to identify the source of a visit and stores user action information in cookies. This analytical and behavioural cookie is used to enhance the visitor experience on the website.
sbjs_udata
session
Sourcebuster sets this cookie to identify the source of a visit and stores user action information in cookies. This analytical and behavioural cookie is used to enhance the visitor experience on the website.
SM
session
Microsoft Clarity cookie set this cookie for synchronizing the MUID across Microsoft domains.
YSC
session
YSC cookie is set by Youtube and is used to track the views of embedded videos on Youtube pages.
Advertising cookies are used to deliver relevant advertisements and marketing campaigns to visitors. These cookies track visitors across websites and collect information to deliver tailored advertisements.
Cookie
Duration
Description
_rdt_uuid
3 months
Reddit sets this cookie to build a profile of your interests and show you relevant ads.
ANONCHK
10 minutes
The ANONCHK cookie, set by Bing, is used to store a user's session ID and verify ads' clicks on the Bing search engine. The cookie helps in reporting and personalization as well.
MUID
1 year 24 days
Bing sets this cookie to recognise unique web browsers visiting Microsoft sites. This cookie is used for advertising, site analytics, and other operations.
test_cookie
15 minutes
doubleclick.net sets this cookie to determine if the user's browser supports cookies.
yt.innertube::nextId
never
YouTube sets this cookie to register a unique ID to store data on what videos from YouTube the user has seen.
yt.innertube::requests
never
YouTube sets this cookie to register a unique ID to store data on what videos from YouTube the user has seen.